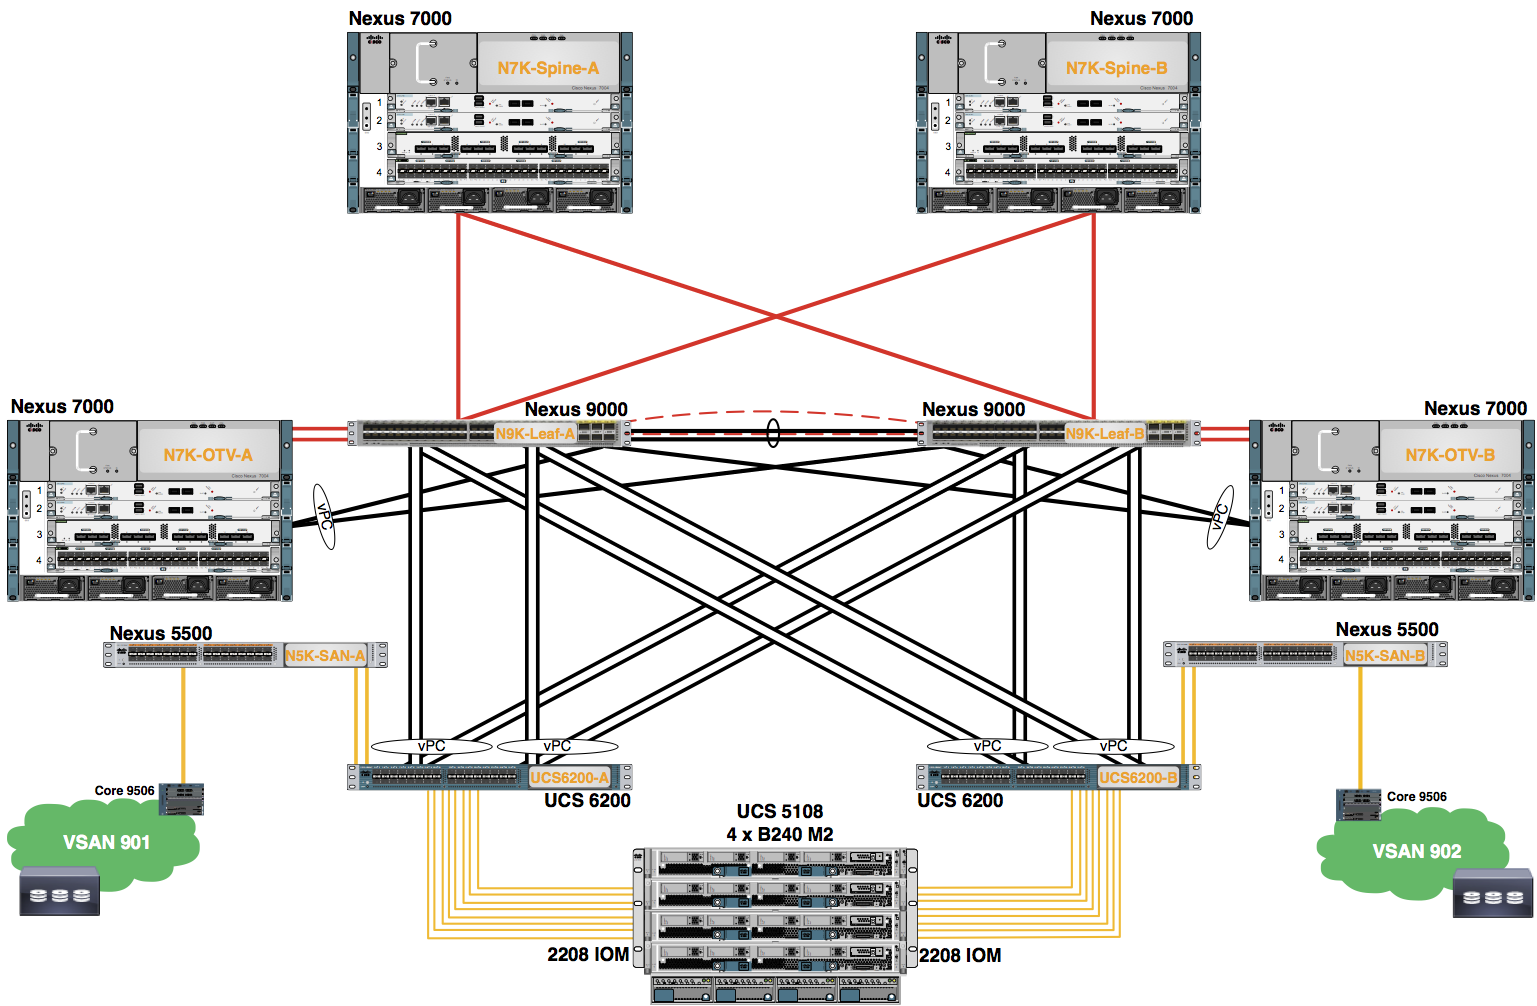
Module 4: Create vHBA Templates
Configure the Pod assigned vHBA Templates. Two vNIC Templates are created.
Procedure
- In the Navigation pane, click SAN.
- Expand the SAN > Policies > root node.
- Right-click the vHBA Templates node.
- Choose Create vHBA Template from the drop-down menu.
Note: If necessary, scroll down using the scroll bar to the right of the Navigation pane.
- Configure the Fabric A vHBA Template. Use the information in the table to complete the fields in the Create vHBA Template dialog box. Click OK.
- A pop-up window appears indicating the vHBA Template was successfully created. Click the OK button to close this window.
| Template Name | Fabric ID | VSAN ID | Template Type | WWPN Pool |
|---|---|---|---|---|
| POD0-A | A | VSAN901 | Updating Template | POD0-A-WWPN-Pool |
Note: Leave all other fields default.
- Repeat steps 1 - 4 of the procedure above to configure the Fabric B vHBA Template. Use the information in the table to complete the fields in the Create vHBA Template dialog box. Click OK.
| Template Name | Fabric ID | VSAN ID | Template Type | WWPN Pool |
|---|---|---|---|---|
| POD0-B | B | VSAN902 | Updating Template | POD0-B-WWPN-Pool |
Note: Leave all other fields default.
- A pop-up window appears indicating the vHBA Template was successfully created. Click the OK button to close this window.
The vHBA templates are applied to a Service Profile in a later Lab.

