
Appendix A
Virtual Device Contexts (VDCs)
In this appendix, you explore the concepts of virtual device contexts (VDCs) on the Nexus 7000 Series switches.
Virtual Device Context (VDC) Overview
A VDC runs as a separate logical entity within the Nexus 7000 physical device, maintains its own unique set of running software processes, has its own configuration, and can be managed by a separate administrator. VDCs virtualize the control plane, which includes all those software functions that are processed by the CPU on the active supervisor module. The control plane supports the software processes for the services on the physical device, such as the routing information base (RIB) and the routing protocols. The only physical resources that you can allocate to a VDC are the Ethernet interfaces. Each physical Ethernet interface can belong to only one VDC at any given time. Initially, all physical interfaces belong to the default VDC (VDC 1). When you create a new VDC, the NX-OS software creates the virtualized services for the VDC without allocating any physical interfaces to it. After you create a new VDC, you can allocate a set of physical interfaces from the default VDC to the new VDC. Once you allocate a physical interface to a VDC, you can configure it only in that VDC and no other VDC has access to that interface, including the default VDC.
Default VDC
The physical device always has at least one VDC, the default VDC (VDC 1). When you first log in to a new Cisco NX-OS device, you begin in the default VDC. You must be in the default VDC or admin VDC to create, change attributes for, or delete a nondefault VDC. Cisco NX-OS releases prior to 6.1 can support up to four VDCs, including the default VDC, which means that you can create up to three nondefault VDCs.
If you have the network-admin role privileges, you can manage the physical device and all VDCs from the default VDC.
Admin VDCs
Beginning with Cisco NX-OS Release 6.1 you can enable an admin VDC at the initial system bootup through a setup script. It is an optional step and the creation of an admin VDC is not required. An admin VDC is used for administrative functions only.
Beginning with Cisco NX-OS Release 6.1, the Cisco NX-OS software supports Supervisor 2 and Supervisor 2E modules. With Supervisor 2/2E modules, the number of VDCs supported is increased. For the supported number of VDCs on Supervisor 2/2E modules, see the Cisco Nexus 7000 Verified Scalability Guide.
Communication Between VDCs
The Cisco NX-OS software does not support direct communication between VDCs on a single physical device. You must make a physical connection from a port allocated to one VDC to a port allocated to the other VDC to allow the VDCs to communicate.
Storage VDCs
The storage VDC is one of the nondefault VDCs and it does need a license. However, a storage VDC does not need a VDC license as it relies on the FCoE license installed to enable the FCoE function on the modules. Beginning with Cisco NX-OS Release 5.2(1) for the Nexus 7000 Series devices, you can run FCoE on the F1, F2 and F2E Series modules. Beginning with Cisco NX-OS Release 6.2(6) for the Nexus 7000 Series devices, you can run FCoE on the F3 Series modules. You can create separate storage VDCs to run FCoE. You can have only one storage VDC on the device, and you cannot configure the default VDC as a storage VDC.
After you create the storage VDC, you assign specified FCoE VLANs. Finally, you configure interfaces on the Cisco Nexus 7000 Series device as either dedicated FCoE interfaces or as shared interfaces, which can carry both Ethernet and FCoE traffic. See the Cisco NX-OS FCoE Configuration Guide for Cisco Nexus 7000 and Cisco MDS 9500 for information on configuring FCoE.
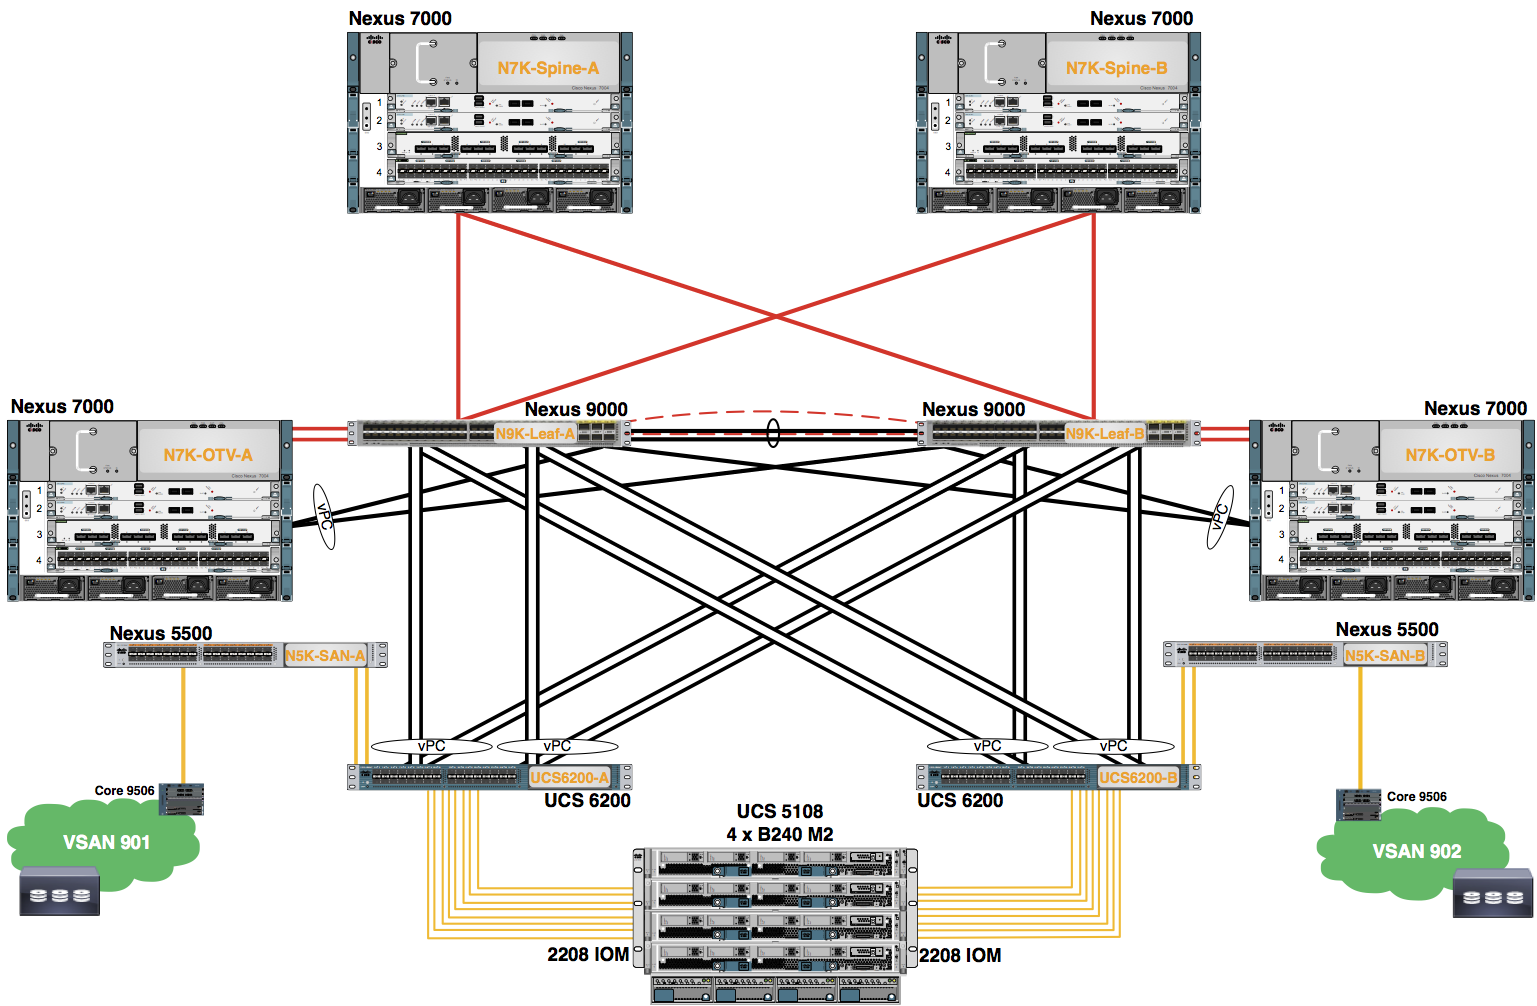
| VDCs in this Lab | Virtual Device Contexts (VDCs) have been pre-provisioned on several Nexus 7000s in the Cisco Lab for the purposes of this course. VDCs have been created and specific Ethernet interfaces have been allocated to them which connect to other equipment (Nexus 9300s and Nexus 7000s) in the Pod. (Refer to your Lab handouts to see the Pod-specific interfaces you have been allocated) Students will not provision VDCs in this Lab, but instead will work in the context of a VDC in shared Nexus 7000s. Each VDC appears as a unique device to the student, and all configuration tasks are completed within the context of an assigned VDC. | ||||||||||||||||||||||||||||||||
| Note on Ethernet interface mapping to VDCs on the N7K-F312FQ-25 Module and N7K-F348XP-25 | On the N7K-F312FQ-25 12-port, 40-Gbps Ethernet module, you must allocate the interfaces on your physical device in the specified combination. This module has 6 port groups that consist of 2 ports each (2 interfaces x 6 port groups = 12 interfaces). Interfaces belonging to the same port group must belong to the same VDC. Additionally, the F3-series module supports port breakout. Each interface can leverage the breakout feature to breakout a single 40-Gbps port into 4x10Gbps ports. On the N7K-F348XP-2548-port, 10-Gbps Ethernet module, you must allocate the interfaces on your physical device in the specified combination. This module has 6 port groups that consist of 8 ports each (8 interfaces x 6 port groups = 48 interfaces). Interfaces belonging to the same port group must belong to the same VDC. |
||||||||||||||||||||||||||||||||
|
|||||||||||||||||||||||||||||||||