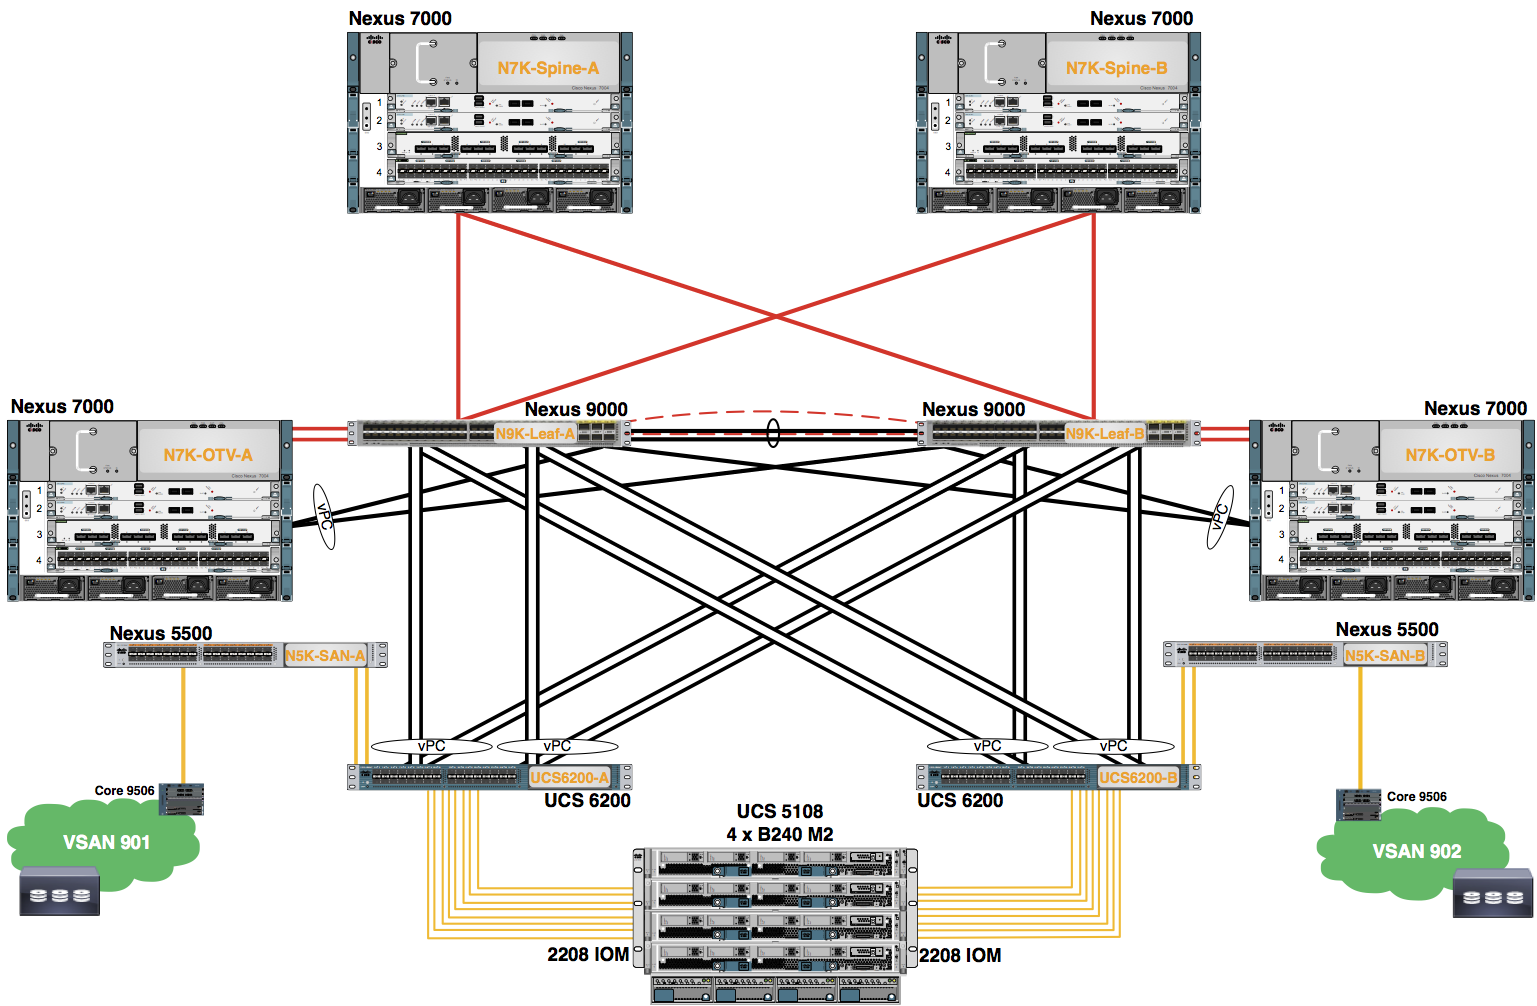
Module 3: Create SAN Pools
Configure the Pod assigned SAN WWNN Pool
Procedure
- In the Navigation pane, click SAN.
- Expand the SAN node.
- Expand the Pools node.
- Expand the root node.
- Right-click the WWNN Pools node.
- Choose Create WWNN Pool from the drop-down menu.
Note: If necessary, scroll down using the scroll bar to the right of the Navigation pane.
- Use the information in the table to complete the fields in the Define Name and Description dialog box. Click the Next button.
| Student | Name | Assignment Order | First WWNN | Size |
|---|---|---|---|---|
| POD0-WWNN-Pool | Sequential | 20:00:00:25:B5:00:0:00 | 4 |
Note: Be VERY careful to add this information correctly.
- Click the + Add Button in the Add WWN Blocks dialog box.
- Use the information in the table above to complete the fields in the Create WWN Block dialog box. Click the OK button.
- Click the Finish button.
- A pop-up window appears indicating the WWNN Pool was successfully created. Click the OK button to close this window.
- Verify the WWNN Pools look similar to the following.
Create WWPN Pools
Configure the Pod assigned SAN WWPN Pools. Two WWPN Pools are created.
Procedure
- In the Navigation pane, click SAN.
- Expand the SAN node.
- Expand the Pools node.
- Expand the root node.
- Right-click the WWPN Pools node.
- Choose Create WWPN Pool from the drop-down menu.
Note: If necessary, scroll down using the scroll bar to the right of the Navigation pane.
- Use the information in the table to complete the fields in the Define Name and Description dialog box. Click the Next button.
| Student | Name | Assignment Order | First WWPN | Size |
|---|---|---|---|---|
| POD0-A-WWPN-Pool | Sequential | 20:00:00:25:B5:0A:0:00 | 4 | |
| POD0-B-WWPN-Pool | Sequential | 20:00:00:25:B5:0B:0:00 | 4 |
Note: Be VERY careful to add this information correctly.
- Click the + Add Button in the Add WWN Blocks dialog box.
- Use the information in the table above to complete the fields in the Create WWN Blocks dialog box. Click the OK button.
- Click the Finish button.
- A pop-up window appears indicating the WWPN Pool was successfully created. Click the OK button to close this window.
 Repeat the procedure to create the second WWPN Pool.
Verify the WWPN Pools
Procedure
- Verify all of the WWPN Pools were created in the work pane.

